
Progression at a Glance
| Island | Main requirement | Progression boss | What unlocks next |
|---|---|---|---|
| 1: Lighthouse | Give Beer to the keeper and use the Empty Beer Can | Spider Crab | Boat keys and Forest marker |
| 2: Forest | Gather leeches and receive Modified Leech | Giant Piranha | Desert coordinates |
| 3: Desert / Palm Trees | Trade an endangered fish for the Carrot | Pufferfish | Rocks coordinates |
| 4: Rocks / Barn | Catch Tuna, defeat it, and place it on land | Albatross | Volcano coordinates |
| 5: Volcano | Feed the scientist five fish and use the Fish Bucket | Bowhead Whale, then Mutated Bowhead Whale | Keys for the trip home |
The table separates required progression bosses from optional boss fish. Sunfish, The Old Pike, Blue Shark, Tuna, and Goblin Shark can matter for money or collection, but only Tuna is directly incorporated into the required Island 4 chain. Check the complete boss list before spending a rare lure.
Island 1: Lighthouse and Spider Crab
Collect free clams, sell them, and buy the Crab Fishing Rod. Catch crabs and shrimp until you can afford a useful melee weapon, then speak with the Lighthouse Keeper about the creature stealing his beer. Buy a Beer, give it to him for the Empty Beer Can, and equip that can as bait.
Cast only when your health is stable and your Knife is ready. Spider Crab hits hard at close range, but it periodically becomes stunned or confused, creating a short damage window. Avoid greedy combos, defeat it before it escapes, then collect the boat keys from the keeper.
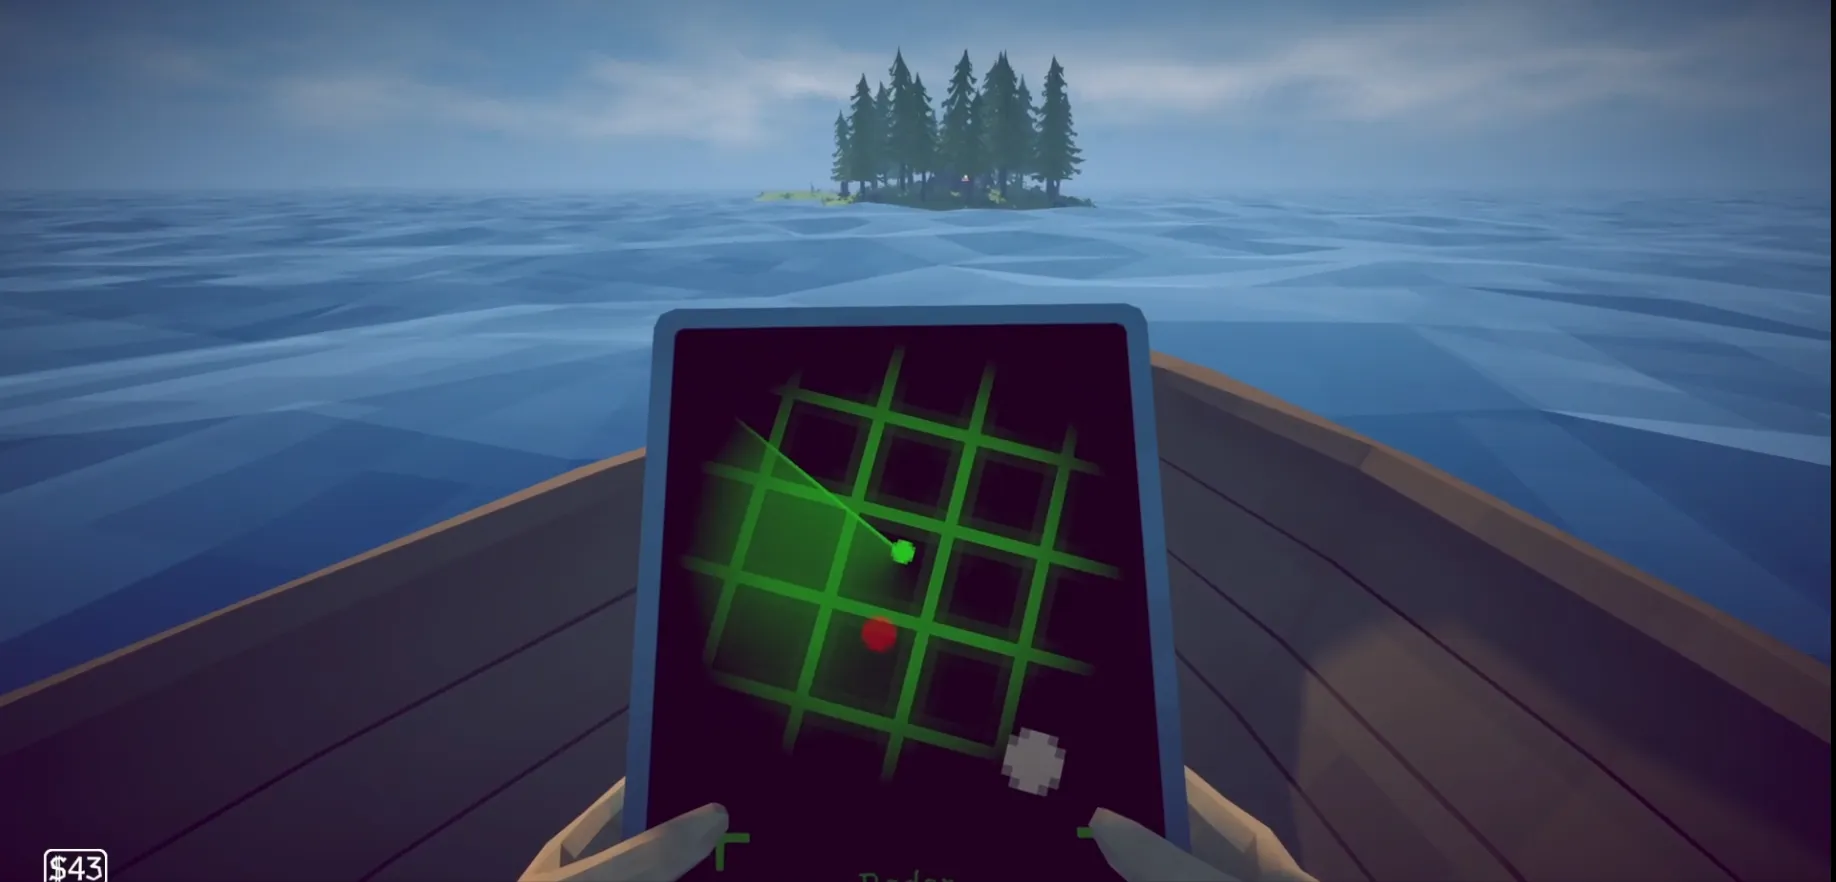
Buy the Radar before departure. A new destination appears as a green marker; in solo play, stop the boat to read it, while co-op crews can assign a navigator. The beginner guide covers the controls and early economy in more detail.
Island 2: Forest and Giant Piranha
Speak with the daughter near the lake and learn that she needs help catching a large fish. Buy the Fishing Rod, a suitable lure, and at least one ranged weapon from the island shop. Game8’s island guide says to collect three leeches, while one exported bait table says five; because the dedicated quest guides and multiple walkthroughs use three, treat three as the supported quest requirement and [Pending verification] if your current build asks for more.
Give the leeches to receive the Modified Leech, equip it, and summon the Giant Piranha. The boss can create or call smaller piranhas, making target control difficult. Dynamite is repeatedly recommended for the swarm, while a Pistol or another upgraded firearm handles sustained damage.
Return the Giant Piranha skeleton to receive the next coordinates. IGN reports an orange Radar dot, while Mobalytics describes the destination marker as yellow; follow the newly added non-Forest marker rather than relying on color alone. Consider buying the larger boat motor before leaving if you have enough money, but it is not the progression key.
Island 3: Desert, Endangered Fish, and Pufferfish
Find the Tourist near the trees and learn that an endangered fish is needed. Catch a Needlefish, Seahorse, or Bowlfish with the appropriate Standard Lure and give it to the Tourist. The reward is the Carrot, the unique bait required to summon Pufferfish.
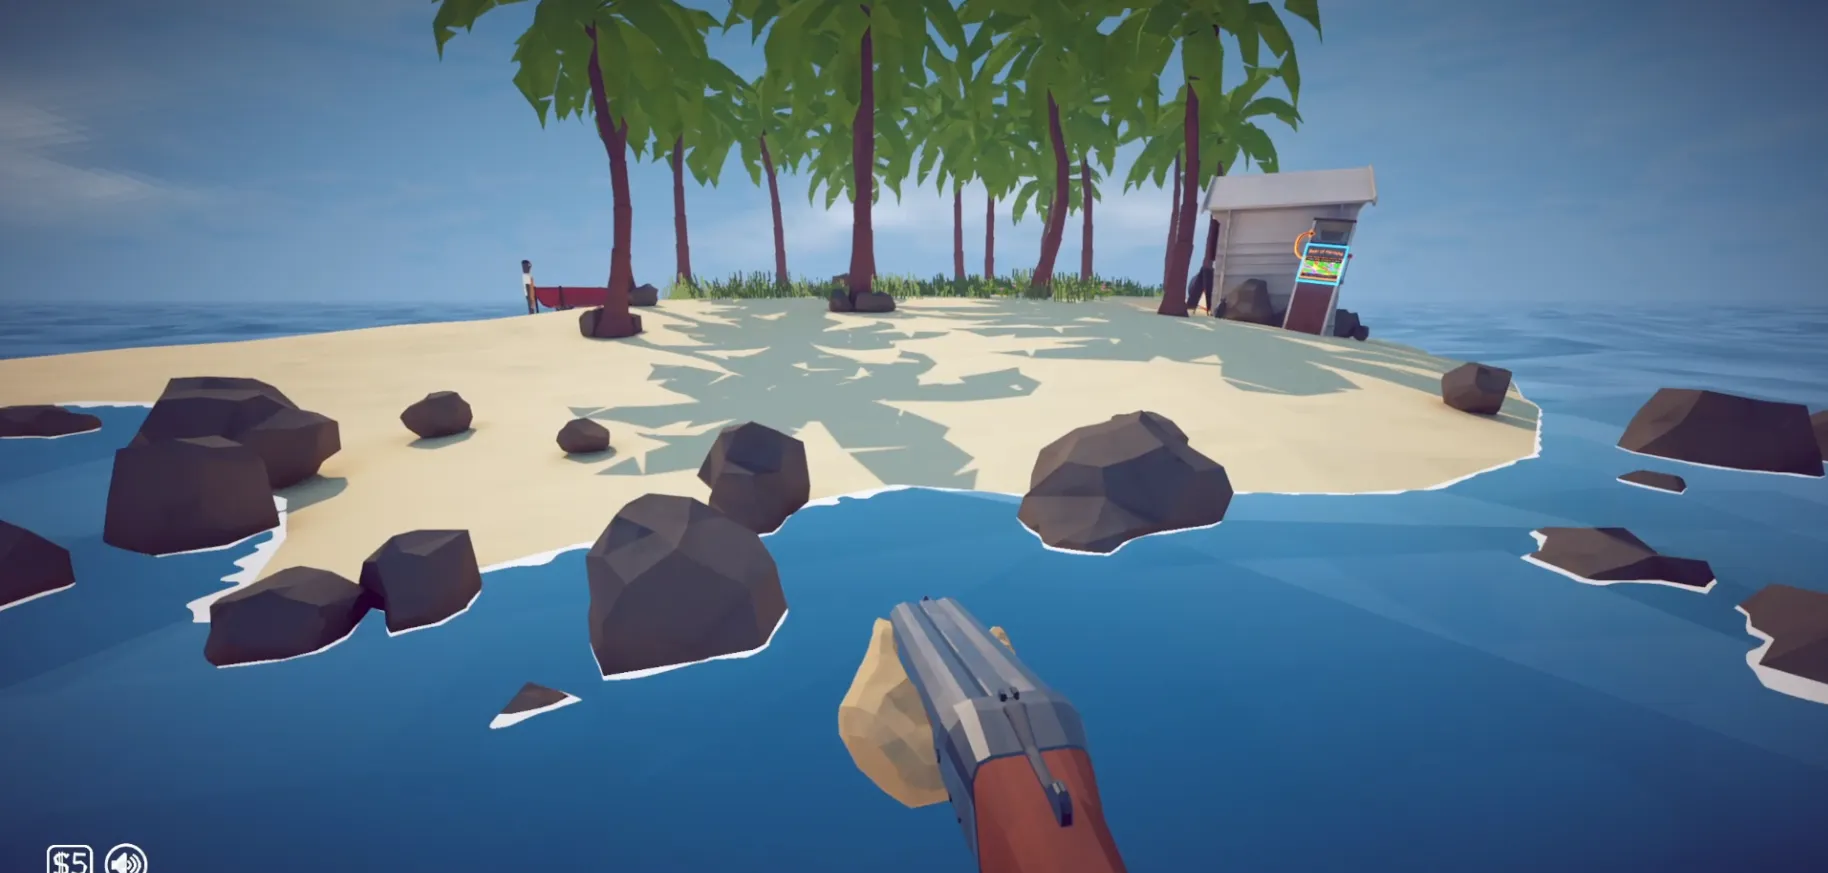
Upgrade the SMG and prepare healing food before using the Carrot. Pufferfish rolls through the island, expands as the fight develops, and leaves poisonous clouds, so keep moving around trees and structures rather than firing from one fixed spot. The dedicated Pufferfish boss guide explains the arena and safe damage windows.
After the fight, take the required Pufferfish drop back to the Tourist. This adds the red marker for Island 4. Do not confuse the Desert with Rocks: the site numbers Lighthouse as Island 1, so Desert is Island 3 and Rocks is Island 4.
Island 4: Rocks, Tuna, and Albatross
Buy the Professional Lure to catch valuable local fish and work toward the Professional Boss Lure. Use the Boss Lure to hook Tuna, defeat it, and keep the body instead of selling or eating it. Place the Tuna on dry ground to summon Albatross.
Albatross stays airborne, circles the island, dives, and drops damaging projectiles. The Sniper Rifle’s range makes it the clearest single-player answer, while a co-op group can combine a sniper with sustained SMG fire. Use shop buildings as cover when the bird is attacking from above.
Retrieve the Albatross Head and return it to the islander inside the shop. The final destination appears as a pink Radar marker and the volcano is visible from a distance. The Island 4 guide includes its shops, optional casino, and preparation checklist.
Island 5: Volcano and the Final Bosses
Talk to the head scientist, then catch and deliver five fish. This quest provides the Fish Bucket used to summon the Bowhead Whale. The island shop also sells Scientific lures and the Assault Rifle, and multiple guides recommend improving a dependable firearm before committing to the final sequence.
Use the Fish Bucket, reel in the Bowhead Whale, and defeat it while watching for its leaps and ground impacts. Do not sell, gamble, or eat the body. Carry it up the volcano path and drop it into the lava to trigger the Mutated Bowhead Whale.
The mutated fight adds dangerous lava or burn pressure to the whale’s physical attacks. Prepare food before the transformation, keep moving, and avoid beginning the sequence with weak ammunition or an unfinished loadout. When it dies, take the required fin to the military or scientist contact, receive the keys, and sail back to the mainland to finish the game.
Common Run Killers
The most frequent failure is consuming or selling a quest item. Empty Beer Can, Tuna, Bowhead Whale, and the final fin all have progression uses that matter more than their apparent immediate value. Check the active objective before feeding any unusual catch to a vendor.
The second failure is summoning a boss too early. The video playthroughs show repeated wipes after an accidental lure use, but also show that one upgraded weapon and prepared food make the same fight manageable. Equip bait only when the team is in position.
Finally, do not use the transcript’s direct Volcano navigation as a current speedrun recommendation. A local walkthrough source states that Patch 1.0.5 removed the island-skip route, so its present behavior is version-sensitive. Follow the normal quest chain unless a current patch source confirms otherwise.
Where to Go After the Story
After returning home, completion-focused players can use the all fish database and rare variants guide. If you are replaying with friends, the max players guide explains hosting, joining, revives, and the current version-sensitive lobby status. Keep the completed story save separate from any version-sensitive challenge run.